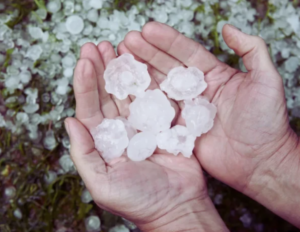
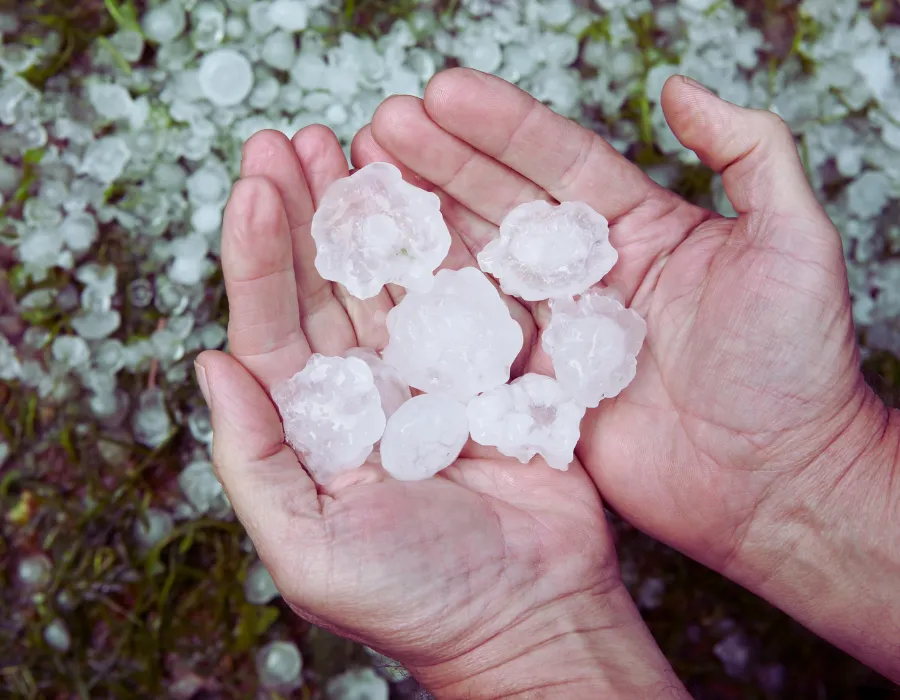
Pre-hail season roofing tips are something most homeowners in hail-prone states search for only after a damaging storm has already passed, and by that point, the advice arrives too late to prevent the damage, the claim, or the out-of-pocket costs that follow. Hail is the single leading cause of roof insurance claims in the United States, with Texas, Colorado, Kansas, Nebraska, and Oklahoma collectively absorbing billions of dollars in hail damage every year.
A roof that is properly inspected, repaired, and documented before hail season begins is not just physically more resilient. It is financially protected in ways that an unprepared roof simply is not. This guide walks you through every step of effective pre-hail season preparation so you are never on the wrong side of a storm.
What Are Pre-Hail Season Roofing Tips? (The Simple Definition)
Pre-hail season roofing tips are a set of targeted inspection, repair, reinforcement, and documentation actions that homeowners take before the peak hail months to reduce the risk of roof damage, maximize insurance claim outcomes, and extend the useful life of their roofing system. Unlike general roof maintenance, pre-hail preparation focuses specifically on the vulnerabilities that hailstones exploit: soft or aging shingles, loose flashing, exposed seams, deteriorated sealants, and areas of existing weakness that a hail impact will convert into active leaks.
In most of the central and southern United States, peak hail season runs from March through July, with the highest frequency of large hail events occurring in April, May, and June. Preparation should be completed no later than late February or early March to be effective.
Pre-Hail Preparation Priority by Roof Component
| Roof Component | Hail Vulnerability | Pre-Season Action Required | Urgency |
|---|---|---|---|
| Shingles (aged or granule-depleted) | Very High | Inspect and replace damaged sections | Immediate |
| Flashing at all penetrations | High | Reseal and refasten all lifted edges | High |
| Ridge cap shingles | High | Confirm adhesion and fastener coverage | High |
| Gutters and downspouts | Moderate | Clear and inspect for prior hail dents | Moderate |
| Skylights and roof windows | High | Inspect seals and consider impact screens | High |
| Soffit and fascia | Moderate | Check for prior damage and seal gaps | Moderate |
| Roof valleys | High | Confirm valley flashing is fully seated | High |
Shingles with significant granule loss and compromised flashing are the two highest-priority areas in any pre-hail preparation plan because they are the components most likely to fail under hail impact and allow water intrusion immediately after a storm.
Why Pre-Hail Season Roofing Tips Matter (The Real Cost Breakdown)
The Financial Difference Between Prepared and Unprepared
| Scenario | Prepared Homeowner Cost | Unprepared Homeowner Cost | Difference |
|---|---|---|---|
| Pre-season inspection and minor repairs | $200 to $600 | Not performed | Savings realized afterthe storm |
| Post-hail claim deductible (2% on $300K home) | $6,000 | $6,000 | Same exposure |
| Interior water damage from delayed repair | Minimal to none | $3,000 to $15,000 | Up to $15,000 more |
| Claim documentation dispute with insurer | Unlikely with pre-storm photos | Common without a baseline record | $1,000 to $5,000 in underpayment |
| Emergency repair premium pricing after the storm | Avoided | $1,500 to $4,000 premium | Up to $4,000 more |
The financial advantage of pre-hail preparation comes not just from reducing physical damage but from creating the documentation and repair record that supports a stronger insurance claim and eliminates the emergency pricing that contractors charge during post-storm demand surges.
The Claim Outcome Difference
Insurance adjusters assess roof damage by comparing post-storm conditions to what a reasonable pre-storm baseline should have looked like for a roof of that age and material. A homeowner who can provide timestamped pre-storm photos showing a clean, well-maintained roof will almost always receive a stronger settlement than one whose roof had pre-existing damage that the adjuster can use to reduce the claim scope. Pre-hail documentation is not just good practice. It is a direct financial asset.
Types of Hail Damage and What They Mean for Your Roof
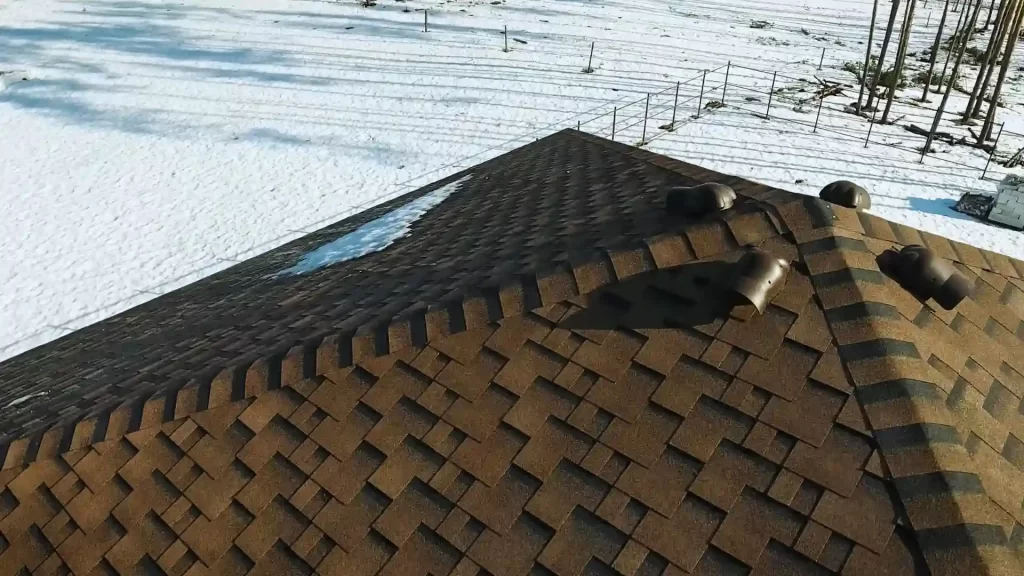
Understanding the different types of hail damage helps homeowners know exactly what to look for during post-storm inspections and confirms why certain pre-season repairs are more urgent than others. Granular hail damage occurs when hailstones strip protective granules from the surface of asphalt shingles, exposing the underlying fiberglass mat or organic base to UV radiation. This type of damage is cumulative. A roof that has already lost significant granules from previous storms is dramatically more vulnerable to the next hail event because less protective material remains. Pre-season inspection should always include a granule loss assessment.
Bruising or soft impact damage creates indentations in shingles that are not immediately visible but accelerate moisture infiltration over time as the shingle mat beneath the surface fractures. Bruised shingles often pass a quick visual inspection but fail within one to three years of the impact event. A professional inspection using hands-on palpation of the shingle surface is the only reliable way to detect bruising before it becomes an active leak. Cracking damage splits shingles through their full thickness, creating an immediate pathway for water intrusion.
It is most common on shingles that have already been weakened by age, UV exposure, or thermal cycling, and is the type of hail damage most likely to cause same-storm leaks.
Flashing damage at penetration points occurs when hail impacts the lift or cracks the sealant around pipe boots, chimney flashings, skylight frames, and valley metal. Because these areas are already the highest-risk water intrusion points on any roof, even minor hail impact damage to their seals creates urgent leak risk. Structural denting affects metal components,s including gutters, downspouts, ridge vents, and flashing metal itself. While dents in gutters do not create immediate leaks, they are visible evidence of hail size and impact force that supports a damage claim and indicates that shingles above absorbed similar impacts.
Pre-Hail Season Roofing Tips: Step-by-Step Preparation Plan
A complete pre-hail season preparation plan covers every component of the roof system in a logical sequence.
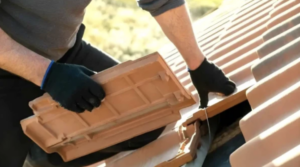
Step 1: Schedule a professional roof inspection in February or early March. A licensed roofing contractor should perform a complete inspection covering all slopes, ridges, valleys, flashings, penetrations, and the attic interior. The inspection should produce a written report documenting the current condition of every component, which becomes the baseline record for any post-storm claim.
Step 2: Replace any shingles showing granule loss, curling, or cracking. These are the weakest points on the roof surface and the first areas where hail impact will cause through-damage. Replacing individual damaged shingles before hail season is far less expensive than addressing a full slope after a storm opens them to water.
Step 3: Reseal all flashing at chimneys, vents, pipe boots, and valleys. Apply roofing-grade sealant to any flashing edge showing separation, lifting, or cracked caulk. For pipe boots with cracked rubber collars, replacement rather than caulking is the more reliable repair and costs only $20 to $60 per boot installed.
Step 4: Clean and inspect gutters and downspouts. Clear all debris from gutters and confirm that downspouts are flowing freely and directing water away from the foundation. Pre-existing hail dents in gutters from prior seasons are evidence that should be photographed and documented as part of your baseline record.
Step 5: Photograph the entire roof and all components. Take date-stamped photos of every roof slope from ground level, every flashing area, all ridge cap sections, gutters, downspouts, skylights, and any previously repaired areas. Store these photos in a cloud location with automatic date and time stamping so they are accessible and verifiable after a storm event.
Step 6: Review your insurance policy before peak hail season. Confirm your deductible type and amount, verify whether your policy is RCV or ACV, and check whether any hail exclusions or coverage limitations have been added at the most recent renewal. Identify your insurer’s claim reporting timeline requirement so you know exactly how many days after a storm event you have to file.
Step 7: Consider impact-resistant roofing upgrades if replacement is approaching. If your roof is within three to five years of the end of its expected lifespan, scheduling replacement before hail season with Class 4 impact-resistant shingles may cost less in the long run than one more repair cycle followed by full replacement. Many insurers offer premium discounts of 15 to 30 percent forClass 4-ratedd roofing materials in high-hail states.
Pre-Hail Season Task Timeline
| Task | Ideal Completion Date | Who Performs It |
|---|---|---|
| Professional roof inspection | By March 1 | Licensed roofing contractor |
| Shingle repairs and replacements | By March 15 | Licensed roofing contractor |
| Flashing and pipe boot resealing | By March 15 | Contractor or experienced DIY |
| Gutter cleaning and inspection | By March 1 | Homeowner or contractor |
| Pre-storm photo documentation | Before the first forecast hail event | Homeowner |
| Insurance policy review | By February 28 | Homeowner with agent |
| Impact-resistant upgrade decision | By February 28 | Homeowner and contractor |
Common Pre-Hail Season Roofing Mistakes to Avoid
Performing only a visual inspection from the ground and assuming the roof is ready for hail season is the most widespread preparation mistake homeowners make. Granule loss, bruised shingles, and lifted flashing are not reliably visible from ground level. A professional inspection that includes walking the roof surface and palpating shingles by hand is the only way to identify the damage types that make a roof vulnerable to hail impact failure.
Patching isolated shingle damage with roofing cement instead of replacing the damaged shingles leaves a repair that will not withstand a direct hail impact. Roofing cement is a sealant, not a structural repair. A shingle that has been cemented over rather than replaced will crack through on the first significant hail hit, regardless of how clean the surface looks after the repair. Waiting until a hail storm is in the forecast before scheduling a contractor guarantees that none will be available.
In high-hail states, roofing contractors are booked solid for weeks following a significant storm event, and homeowners who call during active demand surges either wait months for repairs or pay emergency premium rates to contractors who prioritize higher-margin post-storm work.
Skipping the insurance policy review before hail season leaves homeowners unaware of deductible changes, coverage reductions, or ACV conversions that insurers frequently apply at renewal without proactive notification. A homeowner who discovers at claim time that their policy was converted to ACV at the last renewal faces a depreciation deduction they did not know was coming and cannot retroactively reverse. Failing to photograph the roof before storm season is a documentation failure that weakens every subsequent claim.
Without a pre-storm baseline, any pre-existing condition on the roof becomes a negotiating point for the adjuster to reduce the scope of damage attributed to the storm. Pre-storm photos eliminate that negotiating point.
Pre-Hail Preparation Benchmarks by Roof Age
The age of a roof determines the scope of pre-hail preparation needed and the realistic risk level heading into storm season. Roofs 0 to 5 years old in good installation condition are at the lowest risk heading into hail season. Pre-season preparation at this stage focuses primarily on confirming that all flashing seals remain intact, no installation defects have emerged, and the baseline photo documentation is current and complete. Between 5 and 10 years, shingle sealant strips begin to show age-related flexibility loss, and granule adhesion weakens compared to newer materials. Pre-season inspection should include a specific assessment of sealant strip condition and granule coverage density across all slopes.
At 10 to 15 years, roofs enter a window of meaningfully elevated hail vulnerability. Granule loss is often visible and measurable by this age, shingles may show early curling at edges and corners, and previous hail events may have created cumulative damage that no single storm was large enough to trigger a claim on its own. Pre-season inspection at this stage should produce a detailed written condition report that supports a claim if a hail event occurs.
Between 15 and 20 years, the combination of aging materials, accumulated impact history, and reduced granule coverage makes these roofs the highest-risk category heading into any hail season. Homeowners with roofs in this age range should obtain a contractor replacement estimate alongside the inspection report and weigh it against the expected cost of another repair cycle plus the ongoing insurance exposure. For the past 20 years, full replacement before hail season is the recommendation that most licensed contractors and insurance professionals will make, regardless of apparent surface condition.
The underlying components of a 20-plus-year roof, including the underlayment, fasteners, and shingle mat structure, have degraded to a point where even a moderate hail event can cause damage that a newer roof would have resisted. Replacement with Class 4 impact-resistant materials at this stage also resets the insurance depreciation clock and may qualify the homeowner for meaningful premium reductions.
Technology Tools Homeowners Can Use
Modern tools have made pre-hail season preparation more thorough, better documented, and more connected to real insurance outcomes than was possible even a few years ago. Hail history mapping services allow homeowners to enter their property address and retrieve a full record of verified hail events at that location, including hail stone size, date, and storm path data. This history is useful for identifying whether previous storms may have caused cumulative damage that should be assessed during the pre-season inspection.
Drone inspection services provide high-resolution aerial photography of the full roof surface from every angle, creating a detailed pre-season condition record that is difficult to dispute and easy to compare against post-storm imagery.
Impact-resistant shingle rating databases maintained by roofing material manufacturers and verified by independent testing organizations like Underwriters Laboratories allow homeowners to research and compare Class 3 and Class 4 rated products before making a replacement decision. These databases include insurance discount eligibility information by state and insurer.
Weather alert apps with hail-specific tracking features send real-time notifications when hail is detected near a specific address, allowing homeowners to perform a post-storm inspection and document damage promptly within the claim reporting window. Roofing contractor license verification tools provided by state licensing boards allow homeowners to confirm contractor credentials before signing any pre-season repair agreement, which is particularly important in high-hail markets where unlicensed storm chasers operate aggressively ahead of peak season.
DIY Preparation vs. Professional Preparation: Know the Difference
Homeowners can safely perform several pre-hail preparation tasks without professional help. Cleaning gutters and downspouts, photographing the roof from ground level using a zoom lens or binoculars, reviewing the insurance policy declarations page, researching hail history at the property address, and scheduling a licensed contractor for inspection are all tasks that require no roofing expertise and no time on the roof surface.
However, walking the roof to inspect shingles by hand, resealing or replacing flashing at any penetration point, replacing individual shingles, and assessing the structural condition of ridge caps and valleys all require a licensed roofing contractor with proper fall protection equipment. DIY roof walking without appropriate safety equipment and training is one of the leading causes of serious home improvement injuries, and the inspection quality achieved by an untrained homeowner on a roof is not comparable to a professional assessment that includes palpation testing, close-up flashing evaluation, and attic interior review.
Seek immediate professional attention if the attic inspection reveals any daylight visible through the roof deck, if multiple shingles are already cracked, curling, or missing before hail season begins, or if the previous year’s hail season produced any claim settlement that included a depreciation holdback that was never released. These are red flags indicating that the roof is entering hail season in a compromised condition that requires professional assessment and likely repair or replacement before the first storm of the year.
Final Thoughts
Pre-hail season roofing tips are only valuable if they are acted on before the first storm of the year, not researched during one. The homeowners who come through hail season with minimal out-of-pocket costs and clean claim outcomes are the ones who scheduled an inspection in February, fixed what needed fixing in March, photographed everything before April, and reviewed their policy before they needed to use it. That sequence takes a few hours and a few hundred dollars. Skipping it can cost tens of thousands. The preparation window is short, the storms are not.
FAQs
1. When should I start pre-hail season roof preparation?
A: Begin in February or early March. This ensures contractor availability and repairs are done before peak hail season hits in April through June.
2. What are the most important pre-hail roofing tips for an aging roof?
A: Prioritize a professional inspection, replace granule-depleted shingles, and reseal all flashings before the first storm of the year.
3. How do pre-storm roof photos help with a hail damage claim?
A: They establish a clean baseline that prevents adjusters from attributing storm damage to pre-existing wear, resulting in stronger settlements.
Q: Is it worth upgrading to impact-resistant shingles before hail season?
A: Yes. Class 4 shingles reduce damage risk and qualify for insurance discounts of 15 to 30 percent in most high-hail states.
Q: How do I find a reliable contractor instead of a storm chaser?
A: Verify their license on your state board’s website. Prioritize contractors with a local address and established reviews over door-to-door solicitors.